


Saturday, 12 February 2011
This tutorial will show you how to create an awesome apple wallpaper using 3ds Max and Photoshop! There are a few versions available! Check it out!
Apple Wallpaper Preview
Here is what we are going to create (there are a few more versions):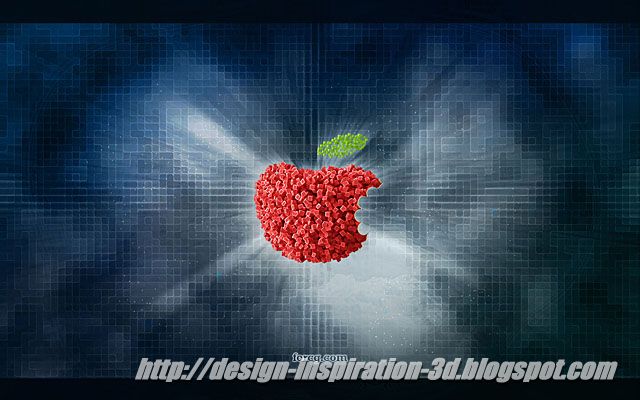

Step 1
Open up the Adobe Photoshop and create a new document with dimensions set to 1680 x 1050px. Fill the background layer with black using “Paint Bucket Tool (G)”.
Step 2
Create another layer and fill it with black. Set your colors to black and white an go to ‘Filter -> Render -> Clouds’ (hold alt key to make the effect stronger). After that go to ‘Filter -> Pixelate -> Mosaic’ and set ‘Cell Size’ to 19. Optionally you can improve your image even more by going to ‘Filter -> Noise -> Median’ (set its radius to two pixels).
Step 3
Afterwards duplicate this layer and go to ‘Filter -> Stylize -> Glowing Edges’. Use one for edge width (can be more), 20 for edge brightness (can be less) and seven for smoothness. Set this layer to a ‘Soft Light’ blending mode. If it doesn’t look like mine try to adjust its contrast and brightness.
Step 4
Paint something like on the image below on a new layer and duplicate this layer four times.
Step 5
Set the first one to ‘Color’. Select the second and go to ‘Filter -> Blur -> Gaussian Blur…’. Blur it a lot (set the radius to something between 100 and 200 pixels). Set this layer to Color. Set the third layer to ‘Color’ again and fourth to ‘Vivid Light’ but decreare its opacity to something like 50%. Finally you should get something like this (if not play with the Brightness/Contrast again):
Step 6
Grab your layer with ‘Glowing Edges’ filter applied and duplicate it. Lower its brightness and increase its contrast. It should start glowing in some places like on the image below. If necessary, duplicate this layer and change its blending mode (I used ‘Exclusion’ with opacity set to 45% here).
Background is ready. You can make it even better by adding in some little details or by duplicating some of the layers you’ve created and using radial blur on them (with mode set to ‘Zoom’). I’m leaving it up to you.
Step 7
Now open up your 3ds Max and create an apple. I doesn’t have to be perfect at all. Just a sphere with a few top verties moved a bit upwards would be enough. Take a look at my example. It’s just a sphere with ‘Edit Poly’ modifier applied. I used ‘Soft Selection’ to move more vertices at once.
Step 8
Hit ‘6′ to get to the ‘Particle View’ and create a new particle system like on my image. Make sure you’ve added your apple to the ‘Position object’ and selected ‘Location: Volume’.
Step 9
Move your time slider a little bit further (like 30th frame), place your camera like me (see the image below) and hit ‘Render’. I used VRay as my rendering engine but you can get similar results with almost any other engine.
Step 10
Move your render to the Photoshop and remove black background (you can use either its alpha mask or ‘Magic Wand Tool’ which works fine in this case). Duplicate your apple and go to ‘Filter -> Stylize -> Glowing Edges’ again. Use the same settings as previously and once you are done set this layer to ‘Color Dodge’. Your apple should look like the one below (I forgot about the leaf but it will be back in the final images ).
).
Step 11
Finally you can use ‘Pen Tool’ or ‘Brush Tool’ to draw a jaw shape and mask it. I’ve made some little changes to the background afterwards. There are two versions of this wallpaper. It’s also a good idea to remove the apple and replace it with something else or leave an empty space there. Take a look at two of my versions!Conclusion
That is all for now and since it’s 31th December today I wish you happy and creative New Year! If it was useful for you please do us a favour and share it with the others!
Subscribe to:
Post Comments (Atom)
Currently have 0 comments: