


Saturday, 12 February 2011
How to Create Really Cool Light Effects
Posted by Tien Dung | Saturday, 12 February 2011 | Category:
3D
|
In this tutorial, I will show you how create really cool and exceptional light effects using Photoshop and a bit of 3ds Max. Let’s get started!
Light Effects
Here is a final image preview.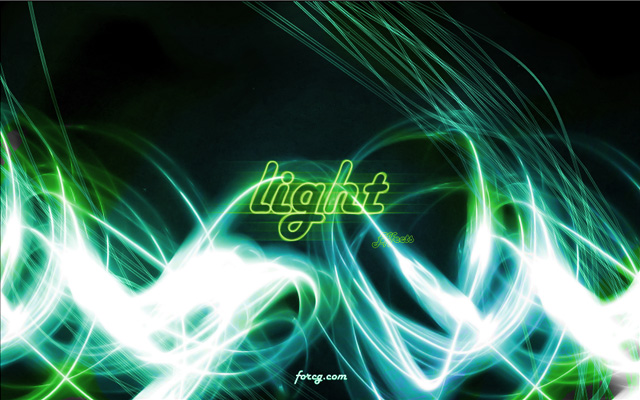
Step 1 – Light Paths
First of all open up your 3ds Max (or any other 3D application) and create a few paths like on the image below. Their placement is random. I’ve created around 20 of them. These will be our light strokes.
Step 2
Select each one and make each renderable. In order to make them visible in renders go to their propetries (to the right in your sidebar) and select “Enable in Render” as well as “Enable in Viewport”. You may also change “steps” under “Interpolation” to something like 16. This will make each light stroke smoother.
Step 3
Hit ‘M’ on your keyboard to get to the ‘Material Editor’ and select the first material. Use the setting below for this material and apply it to your light strokes. You may also modify it a bit if it doesn’t look alright.
Step 4
Scale your light strokes in one direction (like on the image below). Move your camera around and find it a good placement (see my example).
Step 5
Once you’ve done everything render your scene. I used VRay here with Global Illumination turned on. Other rendering engines should work fine here, too. Here is what I got (originally I used 1680×1050px resolution).
Step 6
Once all that is done save your render as Targa or Tiff image (*.tga or *.tiff – I used .tga) in order to have your alpha channel baked into the file. Use Adobe Photoshop to open it. Desaturate your render and use its alpha channel to remove black bacground. To begin with fill the background layer with pure black color.
Step 7
Use ‘Type Tool (T)’ to create a ‘light effects‘ text. Go to its ‘layer styles’ and decrease its ‘Fill opacity’ to 0%.
Step 8
Duplicate this layer and go to ‘Filter -> Blur -> Motion Blur’. Use 0 degrees for angle and around 40 pixels for distance.
Step 9
I’ve pasted a star field image in the background and used a ‘Hue/Saturation…’ layer with hue set to 87, saturation to 58 and lightness to 0. Alternatively you can use your ‘Brush Tool (B)’ to paint some lighter areas in the center.
Step 10
The image is ready but you can improve it even more by adding there some light strokes created with brushes like these available on ColorBurned – 46 Stunning High Resolution Photoshop Light Effect Brushes.Conclusion
I hope you like it. Click on the preview image to get the full size image.
Subscribe to:
Post Comments (Atom)
Currently have 0 comments: